Introduction To Aero Towing
Aero tow launching of hang gliders was first conceived in the early 1980’s, soon after the development of flexwing microlights. About 1984, the first tows in the UK were carried out behind a Solar Wings XL. Due to CAA safety concerns, trials were abandoned for many years until the Northampton tow group took up the challenge in the early 1990’s.
The CAA eventually granted development status to the Northampton and Norfolk tow groups. These two groups carried out trials under the guidance of the CAA. Meanwhile, in France and Hungary, aero towing was already well established.
In April 1994, the CAA agreed to allow aero towing in accordance with the BHPA aero tow manual and the approved Pegasus XL tug. This cleared the way for several aero tow groups to be formed in the UK.
The Midland aero tow group was formed in 1993 to be ready for the CAA approval.
As soon as approval was granted, we had a tug ready and people with enough experience to run a tow group. This put us ahead of most other groups in the country.
The Midland Aero Towing Group registered as a club under the BHPA in July 1994. At that time, we had a tug pilot and an aero tow coach within the group and were able to carry out our first launches without supervision. By May 1995, we had enough experience as a group, and a Senior aero tow Coach and were for the first time able to carry out aero tow training. By the end of Summer 1995, the group had 4 tug pilots, 2 aero tow coaches and a senior coach, and were flying from three sites in Leicestershire.
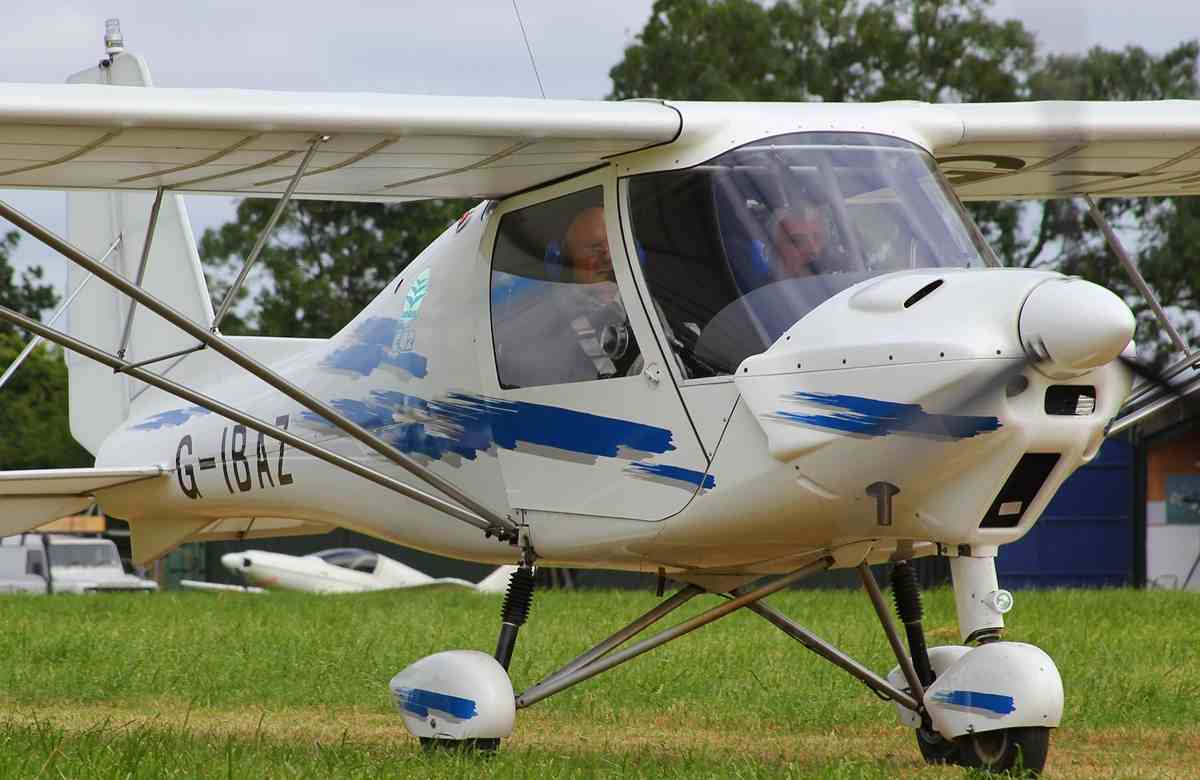
The group is based at the Leicestershire Microlight Aircraft Club main site at Swinford and is able to use the hangar and club house facilities there. This has been a very successful merger of the two sports of hang gliding and microlight flying.
Requirements for Areo Towing
* XCPC rating
* 50 hours logged or 100 takeoffs since CPC on hang gliders
* Successfully complete an aero tow endorsement course
Areo Tow Cource Syllabus
* Ground crew theory session covering duties of launch marshal, primary signaller, second signaller and log keeper.
* Aero tow theory session covering signals and procedures, emergency procedures (Especially actions in the event of the tug releasing the line and weak link failures), station keeping in straight and turning flight, nil wind take off techniques, following the tug back to the field if disorientated.
* Observe practical demonstration
* 4 satisfactory launches following a normal aero tow pattern to a minimum of 1500’ ATO.
* 4 satisfactory launches involving horizontal figure of 8s to a minimum of 1500’ ATO and being waved off
* Senior aero tow coach assessment of attitude and airmanship
Once a rating has been issued by the BHPA, pilots are expected to remain in current practice as aero tow pilots. If out of practice the advice of the chief aero tow coach should be sought.
Equipment
* All gliders must have a BHPA C of A and be deemed to be suitable for aero towing by the Midland Aero Towing Group. Most gliders of Magic 4 generation and above may be safely towed.
* All gliders must be fitted with suitable sized wheels for all tows with the Midland Aero Towing Group.
* Cocoon harnesses are not to be used. stirrup harnesses are OK, but must be fitted with backstraps. Pod harnesses are recommended.
* All harnesses must be checked regularly to ensure that the tow bridle mounting loops are secure, and that the tow bridle remains in the “at rest” position (Relative to the pilot’s chest) when under towing loads.
* Tow release: The two lever winch release is very popular, though it is over complex and very expensive for the job of aero towing. The 3 loop “soft” releases are the cheapest and simplest type to use. Spinnaker releases can be used, so long as they mounted rigidly and used in conjunction with a purpose made tow line end that allows them to release reliably. The release must be operable with a one handed single movement.
* A webbing cutter to cut the line in event of a release failure is recommended
Ground Crew Theory
The launch marshal and primary signaller is:
* A person appointed by the aero tow coach when he is satisfied that he is fully competent in their duties.
* The Launch Marshal is fully responsible under the chief aero tow coach for the smooth and safe running of the launch point.
The secondary signaller stands at least 100 metres in front of the tug and is responsible for repeating the signals of the primary signaller. The responsibilities of the launch marshal and primary signaller are:
1. Marshalling (In agreement with the CAC) rigging areas, landing areas and take off areas. Ideally there should be separate landing areas for the tug and hang gliders.
2. Working through the pre-launch check list with the hang glider pilot before every launch.
3. Using the three signals at the command of the hang glider pilot, attaching the tow line to the glider and ensuring that the line is correctly attached to the tug.
Pre Launch Check List
* Glider check: Ask the pilot if he has checked the glider. A positive reply is required, otherwise the pilot is required to make a full check in front of the marshal.
* Helmet check: Ensure it is secure
* Leg loops: The pilot must demonstrate they are correctly in the harness
* Hang check: Correctly clipped in, straps straight.
* Clearance check: Check that there is enough clearance between the bar, harness and release, whatever angle the release is at.
* Release check: this is the first time that the line is offered to the glider pilot. The release system must be demonstrated to operate correctly. The glider end weak link can also be visually checked at this point. (The glider end of the line is orange in colour and attached to the main line by the weak link)
* All clear: Check, especially above and behind for other aircraft.
Commands
These are instructions given by the pilot to the launch marshal. Before any commands can be given, the glider pilot must lift the glider and be ready for take off.
* Take up slack Any slack in the line is taken up by the tug inching forwards. If there is little slack, the pilot may take a few steps backwards and go straight to standby
* Standby The pilot has the chance to pause proceedings in order to check that his wings are level, the angle of attack is correct and he is prepared for the launch.
* All out The hang glider pilot gives the all out when he is ready for the launch.
* Stop If during the launch, any member of the launch crew shouts stop, the launch will be aborted.
Ground Signals
* Take up slack Under arm bat swings not exceeding 4 o’clock to 8 o’clock
* Standby Bat held horizontally. (e.g. 3 o’clock position)
* All out Over arm bat swing, 10 o’clock to 2 o’clock. This signal should continue to be made until both tug and glider have passed the secondary signaller
* Stop Bat held up vertically. This signal may be used at any time during the launch procedure. Care must be taken not to confuse the tug pilot by going from standby to stop. This may be seen as the beginning of the all out signal. If the glider pilot requires to stop the launch when in standby, it is better for the pilot to release the line before the stop signal is given.
These signals are as a result of commands given by the glider pilot. The primary and secondary marshals repeat them to the tug pilot. The only exception can be the stop command, which may be “STOP” shouted by any member of the launch crew who sees a potential danger of continuing the launch.
Take Off and Initial Tow
* In light winds, the nose of the glider should be slightly raised compared to a hill launch. This is because the take off run will be horizontal rather than down a slope.
* The glider pilot should only attempt to take off when he is happy that the wing is level and the angle of attack is correct. After the all out command, the pilot should not resist the pull of the line, but must also be careful not to overrun it during the early part of the tow. The initial acceleration of the tug is slower than may be imagined, but it rapidly builds up as air begins to flow through the propeller.
* The pilot must ensure that the glider is flying whilst still on the uprights. As soon as the glider is fully supporting the pilot’s weight, and is no longer in contact with the ground, the pilot needs to convert onto the bottom bar and get into the harness. Airspeed at this point will be well in excess of normal hang glider flying speed, the bar will need to be progressively pulled in to prevent the glider out climbing the tug, which will probably still be on the ground. Do not attempt to zip up the harness.
* As the tug continues to accelerate, the glider should build up airspeed and stay less than 20 feet above the tug. Any higher will cause the tug problems and may well result in the tug pilot releasing the line.
* As the tug rotates into the climb, the glider should trim out in pitch to attain the correct tow position. As soon as possible, the glider pilot should try to position himself directly behind the tug such that he can see it’s king post on the horizon. This is the position to be held until release.
* At this point and throughout the tow, 100% of the pilots activity is flying the glider and keeping it in position behind the tug.
Straight Tow
* Stay in line with the tug, keeping it’s kingpost on the horizon
* Avoid over correcting, especially in pitch, as this tends to lead into oscillations.
* Due to the high speed of the tow (Approximately 38 m.p.h.) the controls of the glider will be a lot more sensitive than when hill flying. If at any time you become badly out of position, release immediately as bad situations can get worse very rapidly, possibly resulting in a lockout.
* If you are too high in position, the tug pilot will slow down to give you a chance to get down. If you are too low in position, the tug pilot will speed up to give you a chance to climb. Getting out of position in height can be used as a signal to the tug pilot to either speed up or slow down.
Turns
* As the tug turns, the glider must follow the arc of the turn in order to cover the same distance through the air. A rough guide to positioning in the turn is to aim the nose of the glider towards the outboard wing of the tug.
* If the glider gets outside of the tug in turn, it will have to cover a greater distance in the same time. This means that the speed of the glider will have to increase or it will tend to climb. Conversely, if the glider gets inside the tug in a turn, it will have less distance to cover and will lose airspeed and sink. Both of these affects can have a dramatic effect on the glider’s position. This effect can be used to correct for being too high or too low in a turn i.e. if you are too high, move slightly to the inside of the turn, or if too low, move slightly to the outside of the turn.
The Release
* The glider may release at any time during the tow.
* On release the glider should carry out a climbing left turn. The tug will turn to the right and descend.
Emergancy Procedures
1. SIGNALS ON TOW
*
Wave off If the tug pilot wants the glider pilot to release, he will extend an arm and make an up and down movement. The glider pilot should release immediately. Although this signal is routinely used to tell glider pilots to release at an agreed height or in lift, it will also be given if the tug pilot has a problem at any height or position. In this case if the glider pilot doesn’t release, it is likely that the tug pilot will release the line from the tug end.
* Unable to release This is a signal from the glider pilot to the tug pilot if he has a problem with releasing the line. The glider pilot should drop a leg out of the harness so that the tug pilot can see it in the mirror. The tug pilot will then release the tug end of the line. This signal is one reason not to zip up the harness whilst on tow.
2. WEAK LINK BREAKS AND TUG RELEASING LINE
*
Should a weak link break early in the tow, the glider should land ahead without attempting to turn back with insufficient height to land on a runway that may be being used by another aircraft.
* If the glider end link breaks, there is no problem landing with the end of the line attached
* If the tug end breaks at low level, the glider should immediately release the line before it snags in a tree or fence. ( The line is approx. 250’ long)
Should the glider be left with the whole line attached at a higher altitude, the glider pilot should take hold of the line and release it from the harness tow release. The line should then be held on the base bar and dropped over a safe area as close as is possible to the landing field.